Getting started
Start with a working sample, then create or adapt your own scene. No scripting is required for the first world.
Requirements
Use a Unity 6000.6.2f1 or newer Unity 6.6 URP project with Linear color space. Package Manager resolves URP/Core 17.6.0, Burst 2.0.0, Collections 6.6.0 and Unity UI 2.6.0. See Requirements and compatibility for platform and validation limits.
Install the supplied Matter package through Window > Package Management >
Package Manager. For a UPM .tgz archive, use Install package from tarball
and select the supplied file. Wait for compilation before opening Matter menus.
Matter's UPM package name is dev.mastertech.matter. The separately installed
FishNet add-on is dev.mastertech.matter-fishnet.
Run the Basic Setup sample
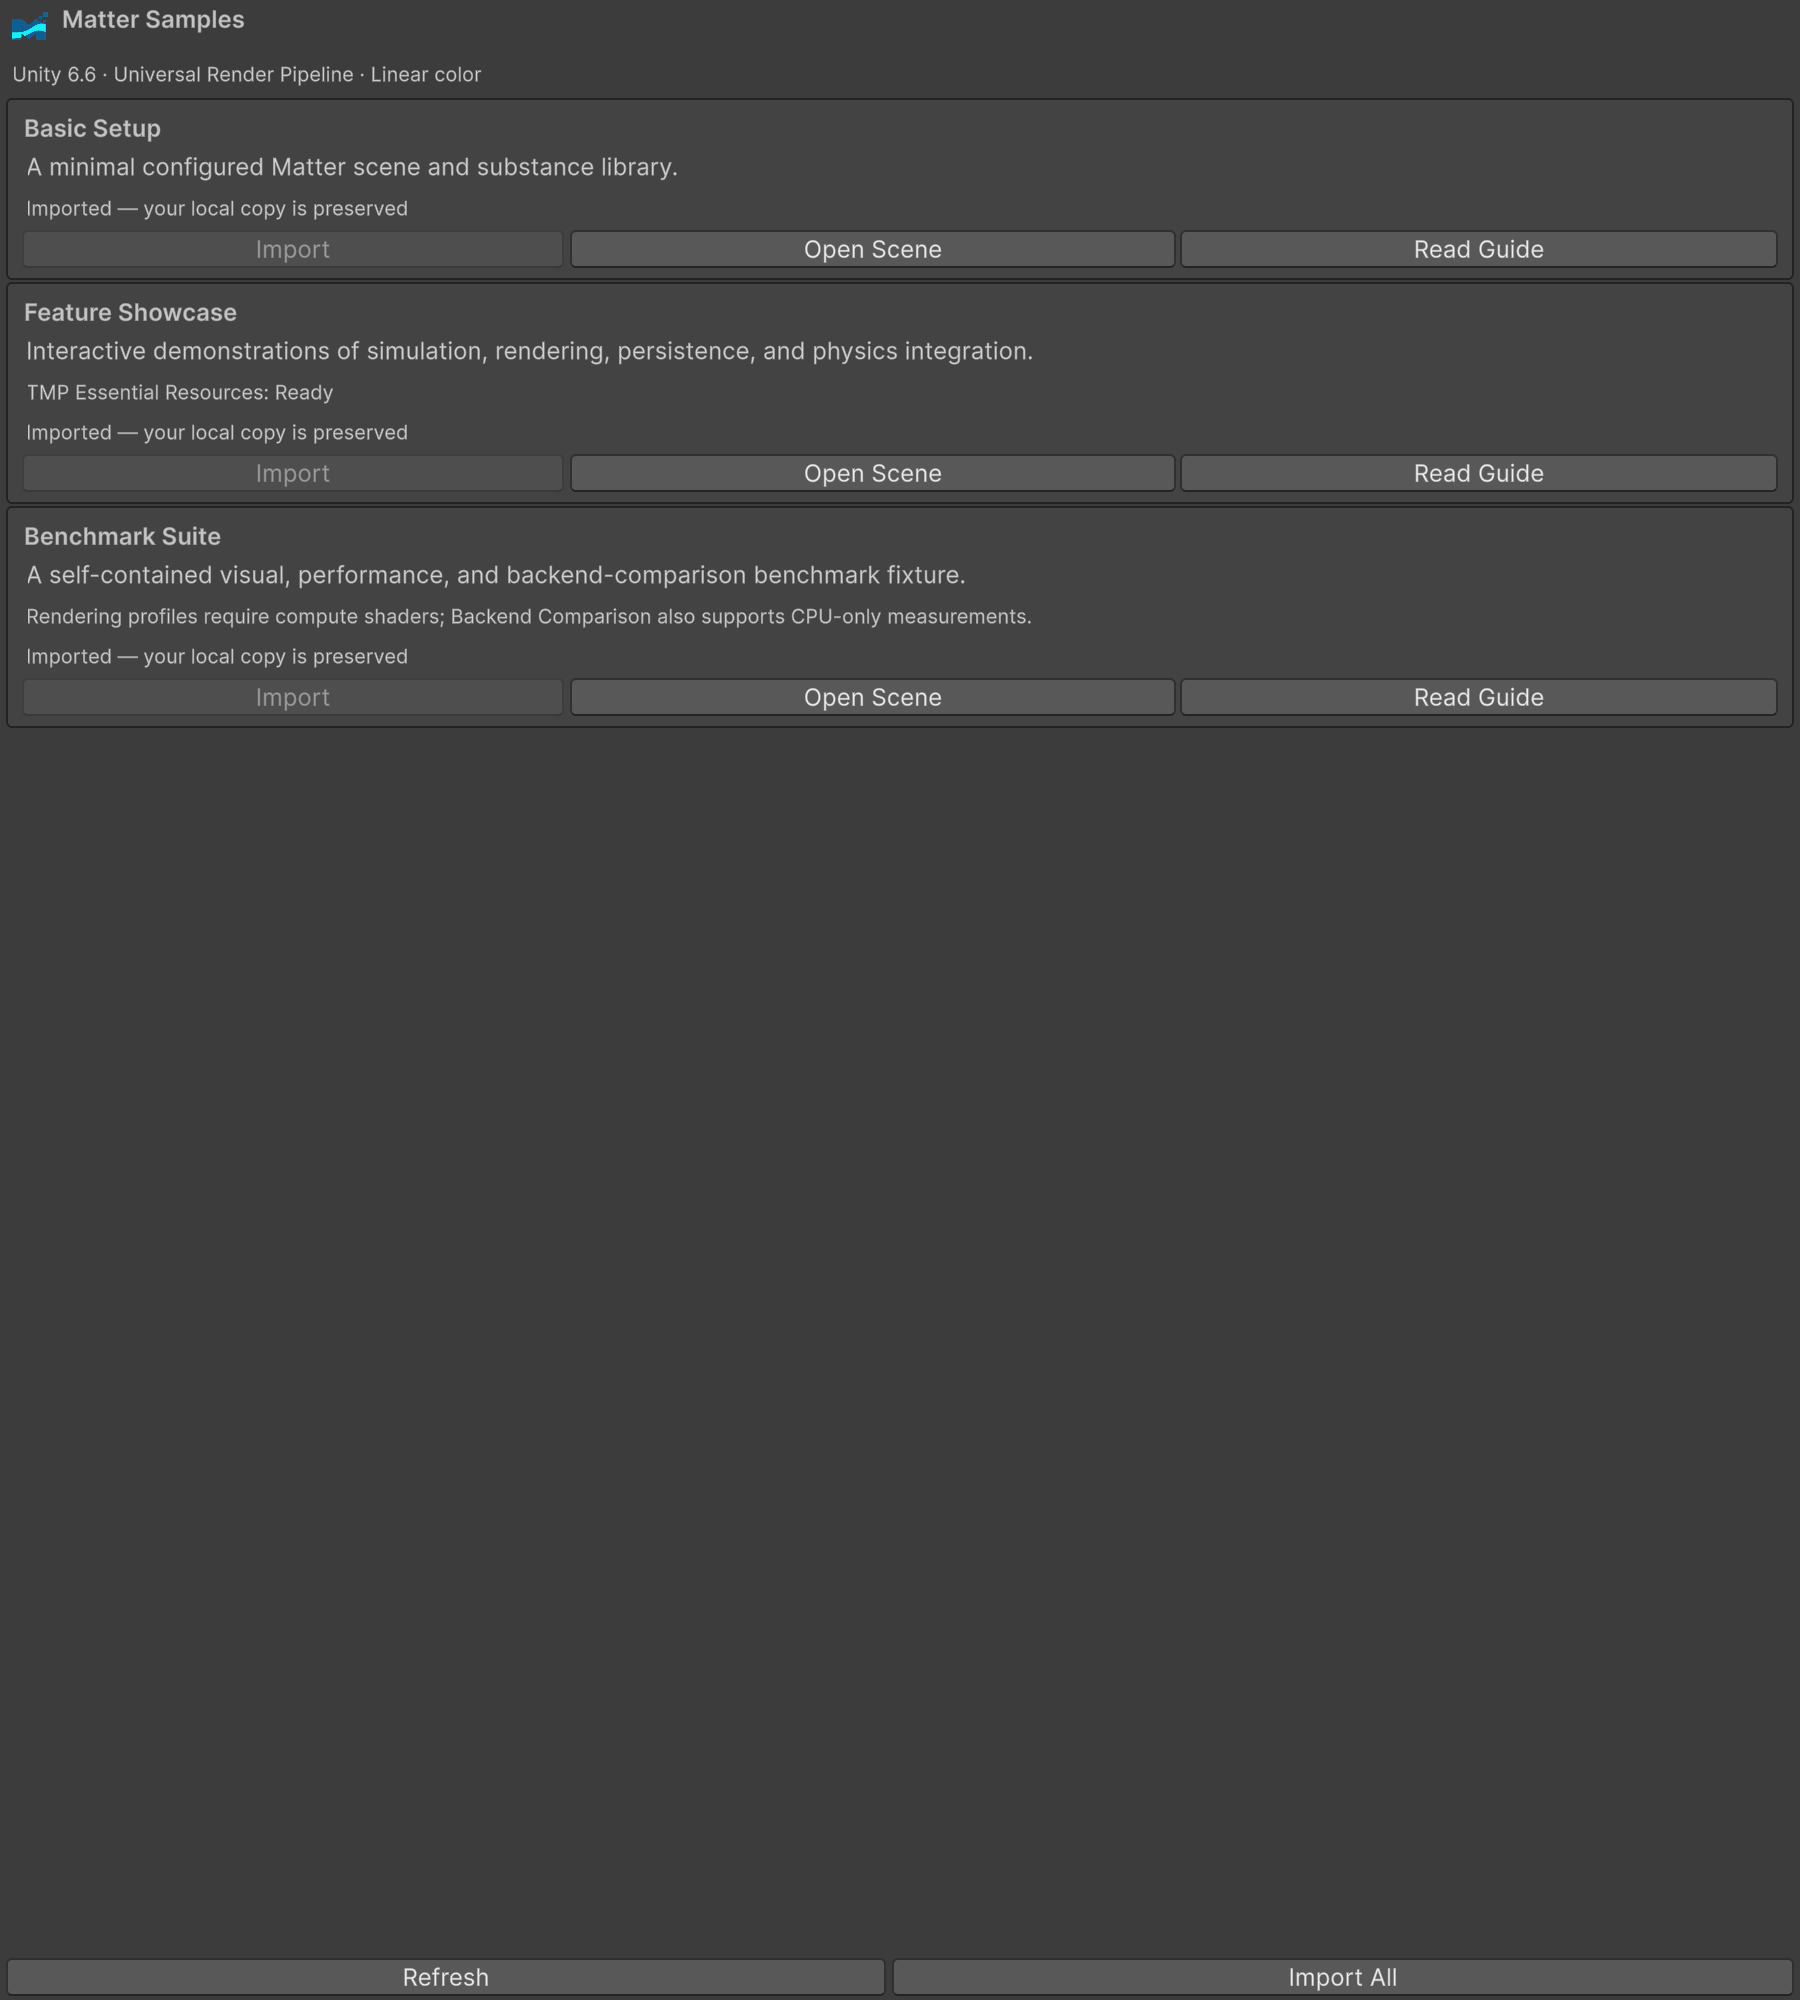
- Choose Tools > Matter > Samples and select Import for Basic Setup. Package Manager's Samples section offers the same sample.
- Select Open Scene, or open
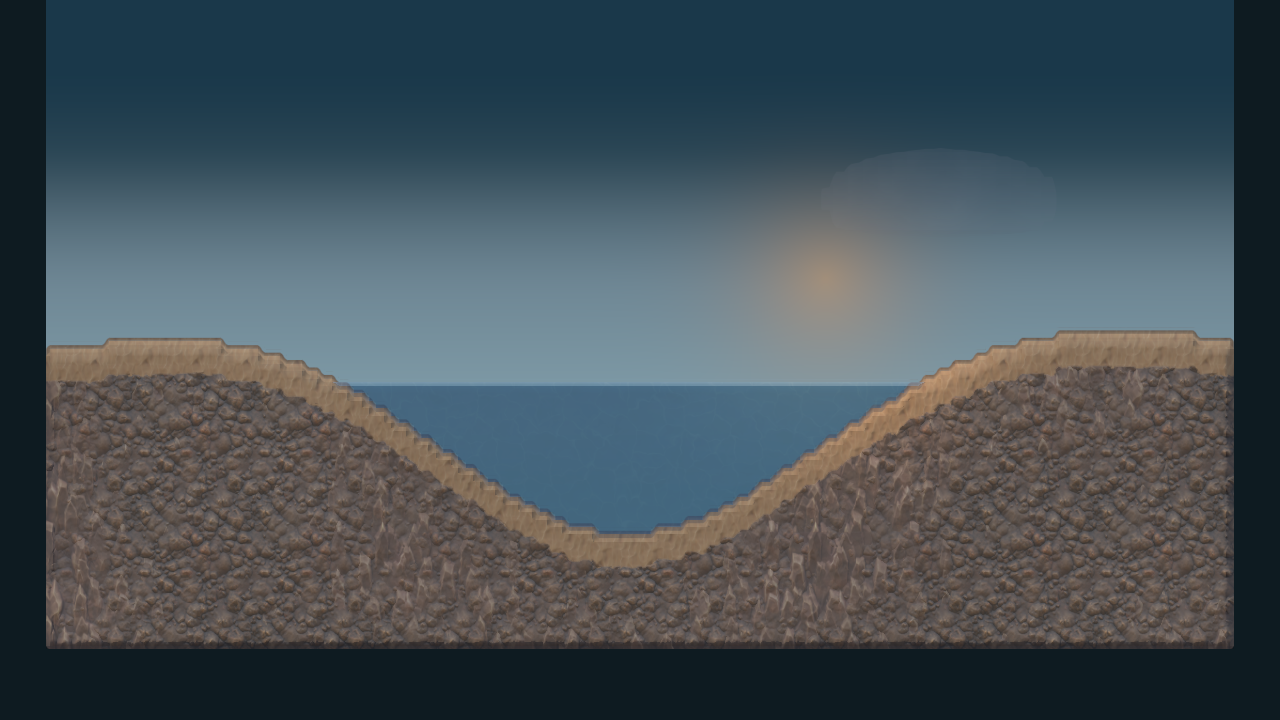
Assets/Samples/Matter/<version>/Basic Setup/MatterBasic.unity. - Enter Play Mode. You should see a rock basin, sand, water and a steam pocket.
- Stop Play Mode before changing startup configuration.
The chooser imports only missing samples; it never overwrites an existing project-owned copy. Import All is explicit. For the interactive desktop demo, import Feature Showcase separately and wait for its TMP resources to finish installing. Benchmark Suite is also independent.
Set up the current scene quickly
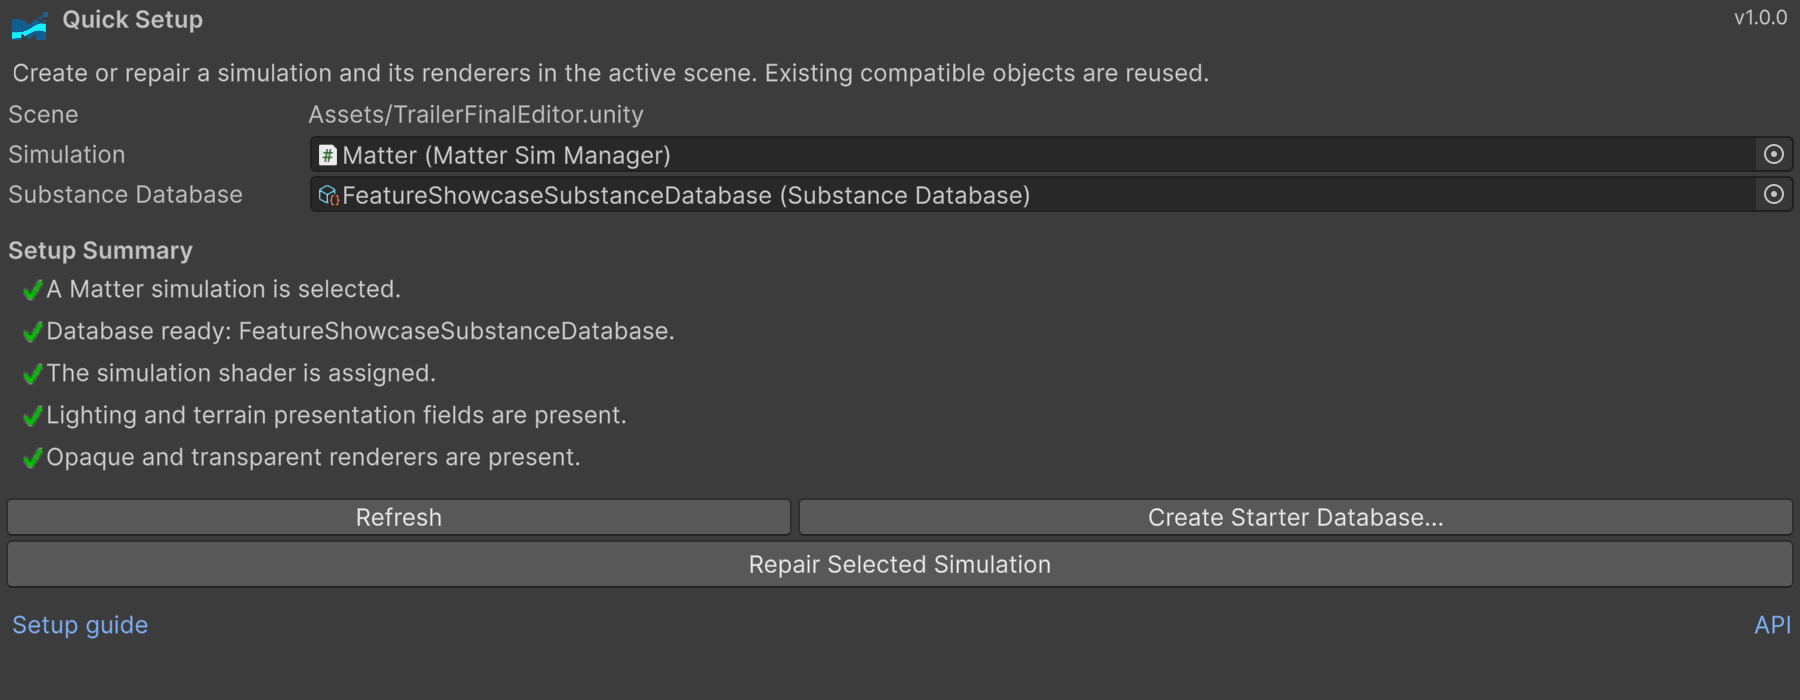
- Open your intended scene and choose Tools > Matter > Quick Setup....
- Select a database, or use Create Starter Database for Water, Sand, Rock and Steam. If several simulations exist, select the intended target.
- Review which components will be created, reused or repaired, then choose Set Up Current Scene.
- Matter selects the simulation and opens the World Editor in Scene View. Paint immediately in Edit Mode; Play Mode is not required for authoring.
Quick Setup creates a centered 160 by 90 simulation when needed, assigns its fields, and connects opaque and transparent renderers. Repeating setup reuses compatible components. It records Undo and disables scene changes during Play.
Author worlds in Scene View
Select the simulation GameObject. Use the Matter World Paint overlay to
paint, erase or fill cells. Use Matter World Settings to save a .matterworld
file under Assets. The Editor tools guide covers strokes,
Undo, preview, recovery, and overlay layout.
For Basic Setup to start from your saved painting, select its bootstrap, choose Saved World, assign the imported asset, and enter Play Mode. Leaving Generated Basin selected recreates the sample basin instead. See the saved-world workflow.
Create substances
Open Tools > Matter > Substances. Database order defines stable material IDs; establish it before saving production worlds. Simulation and rendering data have separate bake actions. Continue with Substance authoring.
Configure the simulation
Common backend, dimension and cadence controls appear in the manager inspector. Allocation settings lock while initialized. Technical controls are under Advanced. For scripted setup and exact cell access, continue with API integration.
Configure world mapping
Origin locates the grid's lower-left corner; cell size gives one cell's width and height in world units. Use the manager's conversion helpers instead of duplicating coordinate arithmetic. See Core concepts.
Render the world
Use the two renderers created by Quick Setup. Their Look, Fluid and Lighting groups edit component settings or an explicitly assigned shared profile. Continue with Rendering and lighting.
Seed and edit cells
Use LoadInitialCells for a complete initial world and TryQueueEdit for
bounded gameplay edits. Check whether each edit was accepted. Working code is
in Read and modify cells.
Switch simulation backend
Use SetBackendAsync for portable state-preserving switching; WebGPU requires
asynchronous GPU readback. Coordinate switching with loads and gameplay writes.
See Backends.
Save and load worlds
Use MatterWorldPersistence and keep substance-schema validation enabled.
Save cells separately from scene objects and renderer settings. The
Persistence guide includes a complete asynchronous example.
Next steps
- Samples: explore the nine public Showcase worlds.
- Physics integration: adapt the sample's collision and buoyancy.
- Troubleshooting: diagnose incomplete setup.